The WorkBook User Interface (UI)
The following images show the parts of the WorkBook UI and the terms that are used to refer to them. The content or availability of some UI elements, like the modules in the top toolbar and the submodules and pages that are available in the left pane, can vary according to access rights.
UI Terminology Example
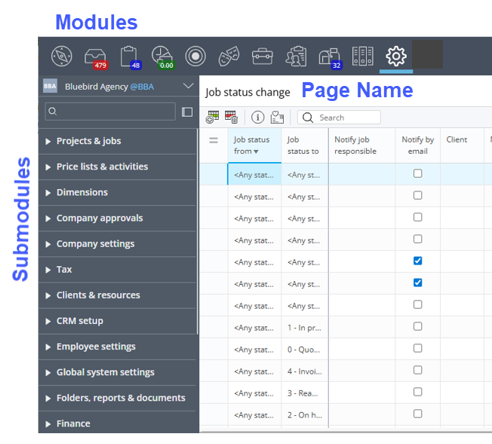
Click the icons in the top toolbar to access the WorkBook modules, such as Dashboard, Inbox, Tasks, CRM, Jobs, Scheduling, and so on. In the preceding figure, the
 Settings module is selected.
The left pane lists the submodules in the selected module. Click the arrow next to the submodule name to expand the submodule and access its pages.
The selected page is typically displayed in the right pane. A page can display a grid, a chart, a form, or other information.
UI Elements Example: Settings module > People & Jobs submodule > Job Status Change page.
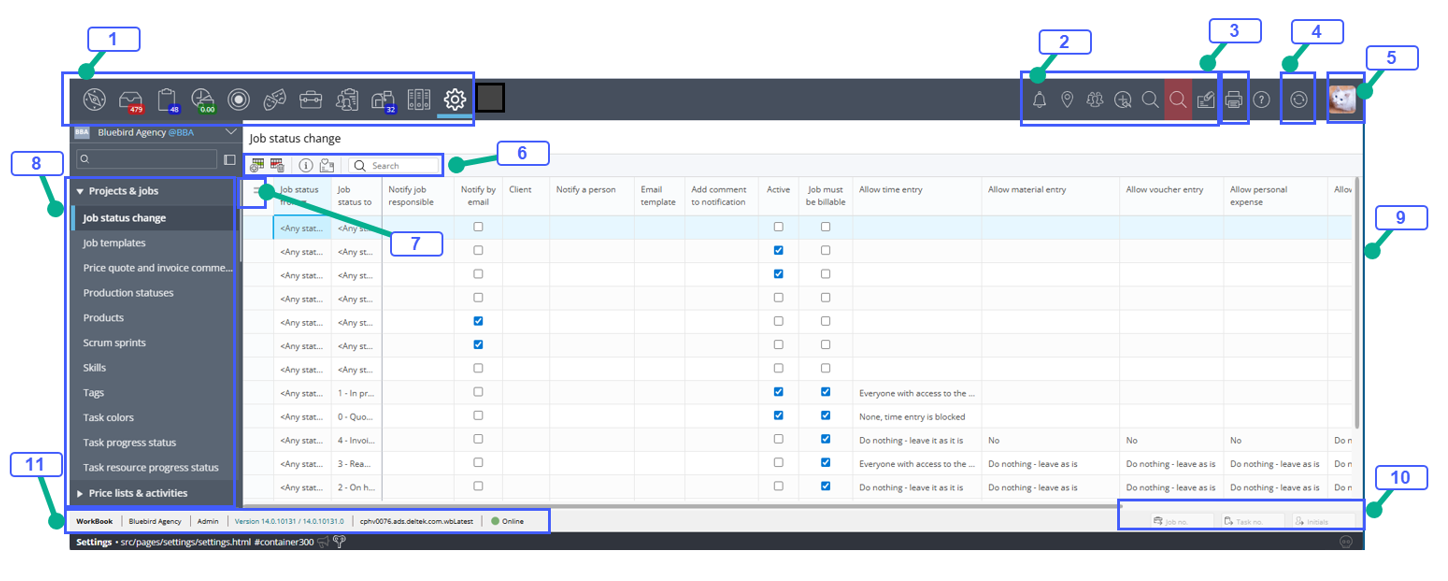
- Icons that you click to access modules.
- Quick Menu
- Reports
- Refresh
- Profile Drop-Down Menu: Click to change Whereabout, access My Settings, and log out of WorkBook.
- Grid toolbar
- Grid Options menu
- Submodules list
- Page grid
- Depending on the page, this area can provide access to additional related information, such as a job card, task card, and so on.
- WorkBook system footer, which provides the following:
- WorkBook link opens the About WorkBook page, from which you can access additional information, including the online help, and find information about how to get support, and supported third-party products.
- Company name link opens the Company card.
- User name link opens the My Settings / Information page.
- WorkBook version indicates which version of WorkBook is running.
- Whereabout indicates your current location/status.